|
|
The story on this page is a selection of interesting photos in the directory: 2020 Q1 and Q2.
The complete set of photos is available at: 2020 Q1 and Q2.
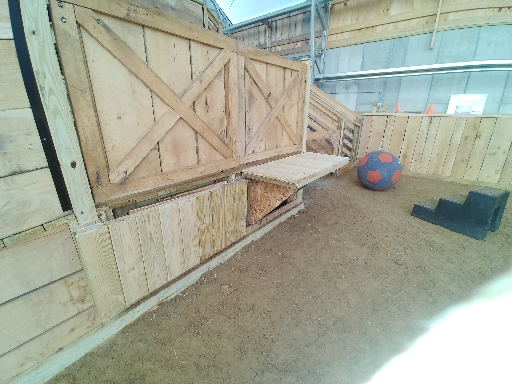
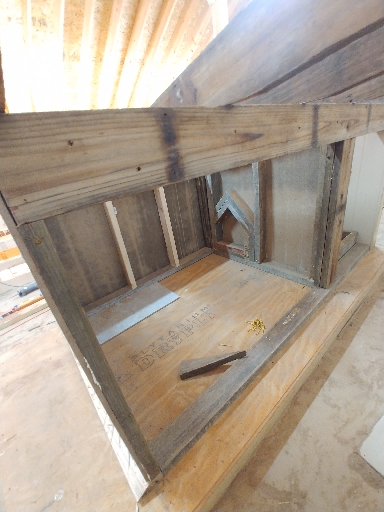
The Patient Lift will allow a person to be lifted over a horse and lowered onto the horse. The horse will stand just right of this platform and the crane post will be just beyond and around the corner to the left of the platform.
This is the top bracket for a diagonal that will support the load bearing arm. You can see the arm tied with rope in the background.
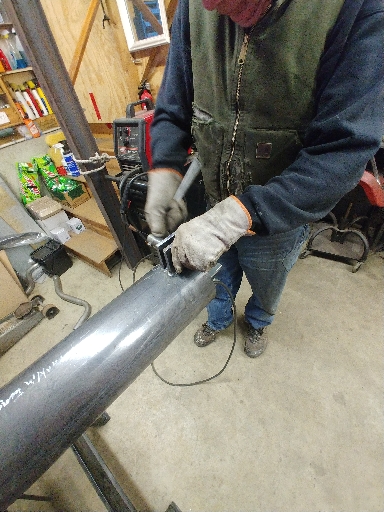
Here Will Thorn is welding the attach point for the boom to the swivel top of the crane section.
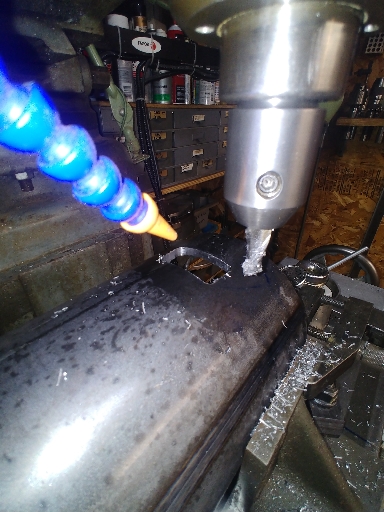
The hole shown here will get a bearing. This cylinder sits on top of the main post and rotates.
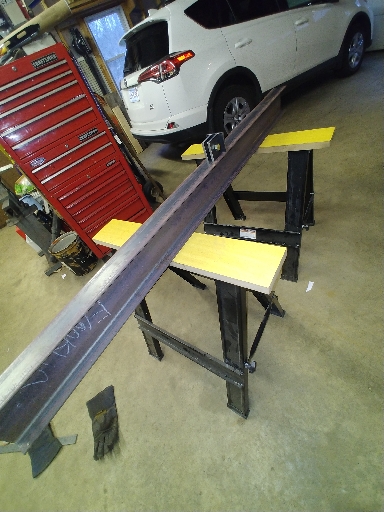
This is the load bearing arm with a mounting point for a diagonal brace showing in the middle.
Here you see the completed top of the crane. The rope gets replaced with a steel brace. The trolley that the patient hangs below is visible on the arm just left of the rope. The cylinder you see here sits on top of the main post and rotates. The patient can be moved out and in as well as around the post.
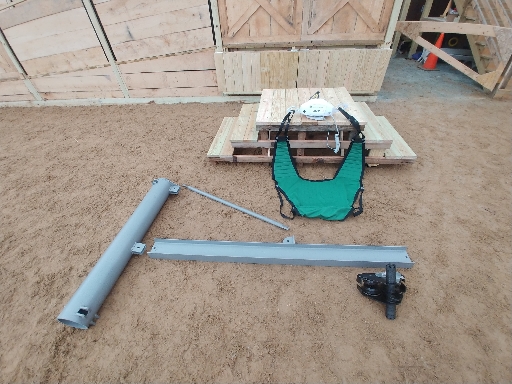
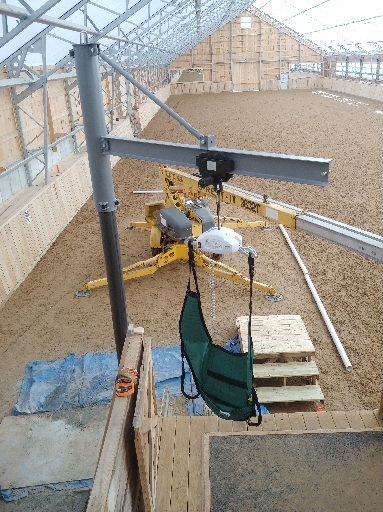
Here are the trolley, the completed arm, brace and top cylinder for the Patient Lift. On the wooden mounting block you see the sling and the motor that lifts the patient up and down.
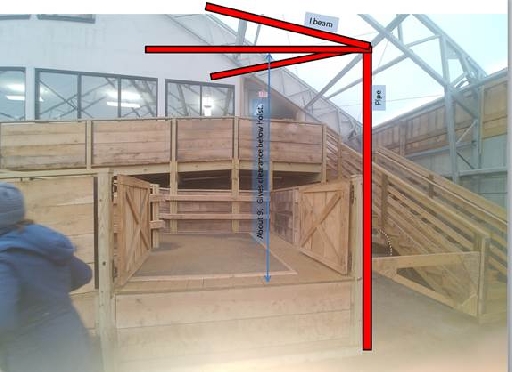
This is the original concept for how the patient lift will work. The style shown is called a Jib Crane, a central post supports and arm from which the load hangs.
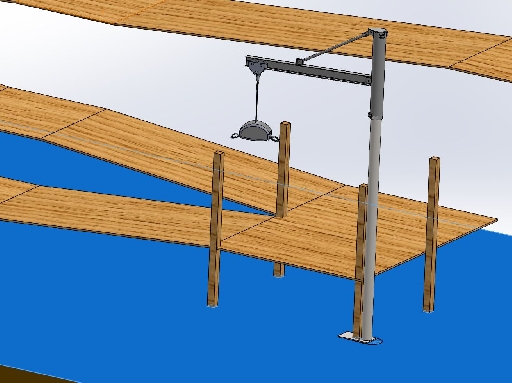
This is the final CAD design. This design was created in Solidworks and was used to make the metal parts, most of what is shown in grey. The electric winch hanging from the top is a commercial P-440 Portable Ceiling Lift intended for moving patients from chairs to beds etc.
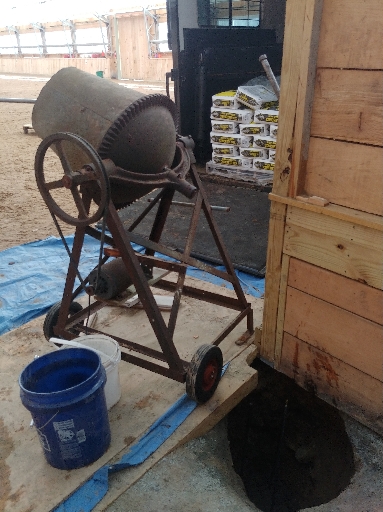
Cement mixer at post hole. Footing got poured this day.
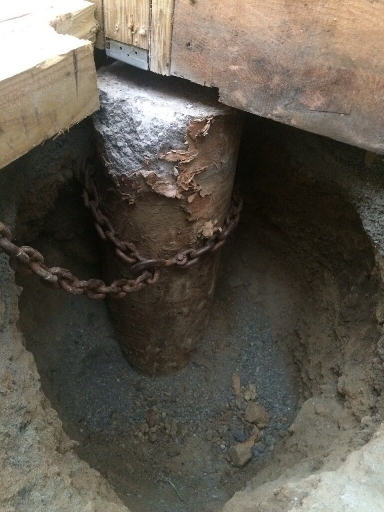
Chain ready to pull old footing for ramp out of the hole. The post and the ramp will be supported by a new footing.
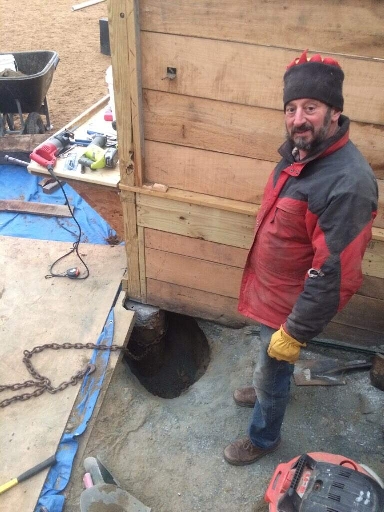
Mike ready to pull the old footing out of the hole.
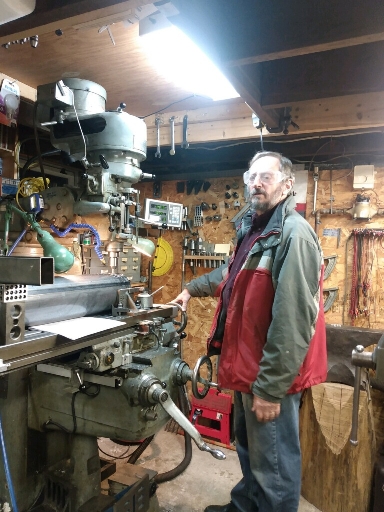
Mike at the milling machine making holes for bearings in the post.
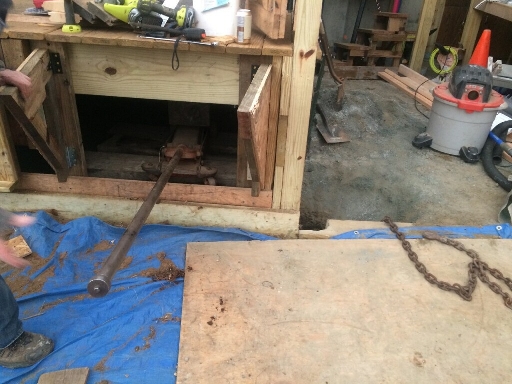
Jacking up the ramp so the old footing can be removed and a new footing cast in its place.
Removing the boarding platform so work can be done beneath it.
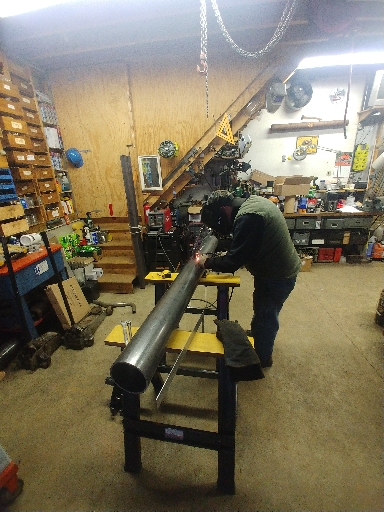
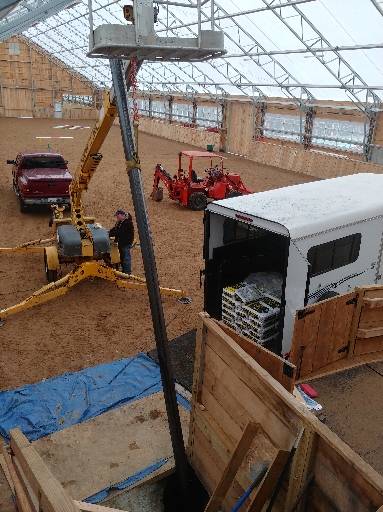
Lowering the Pole into the hole.
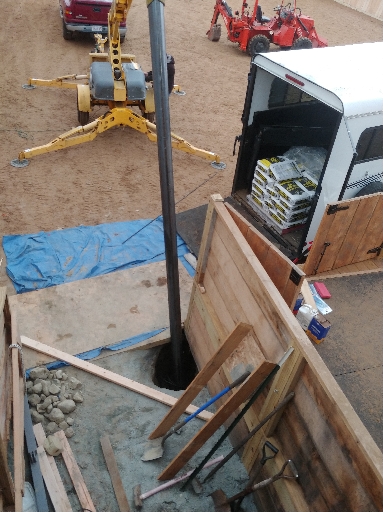
Inserting the pole into the foundation hole.
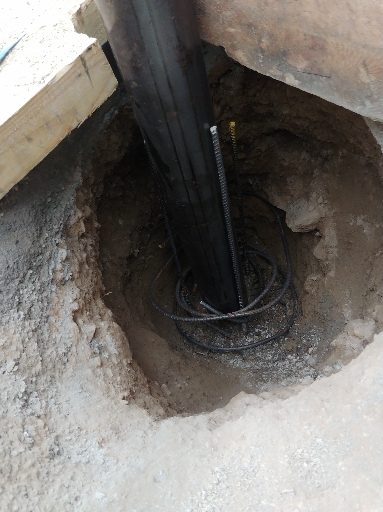
The rebar cages at the base of the pole will be lifted up once the pole is in position.
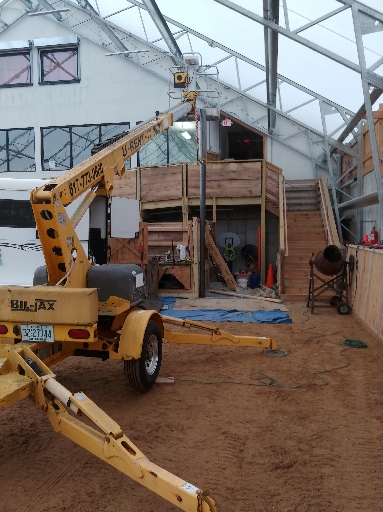
A new to us aerial lift being used as a crane to lower the pole into the foundation hole.
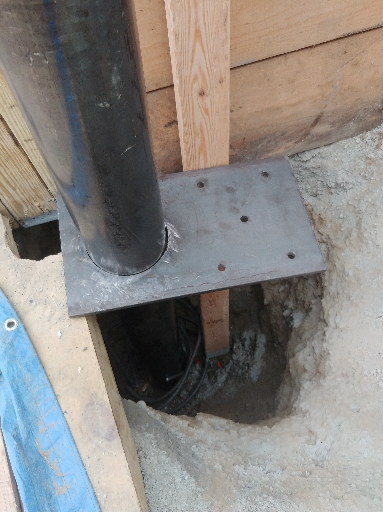
This foot plate will sit on top of the concrete foundation helping hold the pole in place and providing a hard point for the ramp to sit on. The pole will eventually go under the arc cut in the wood at the left of this photo and the plate will be rotated under the post at the very left edge.
Part of the concrete foundation is poured. Some of the rebar cages are visible. The plate at the top has been rotated into position. J-bolts can be seen hanging from the plate. These will be embedded in concrete.
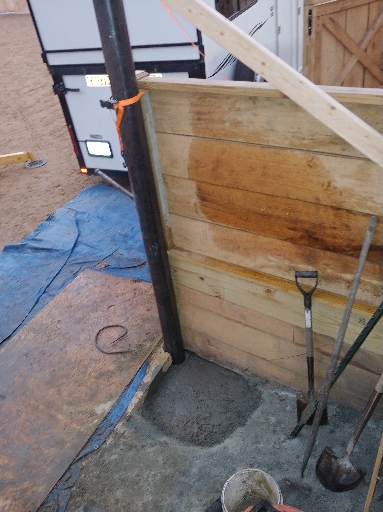
Concrete is finished. The concrete holding the pole must now be allowed to set for a few days before the top of the crane can be assembled on it.
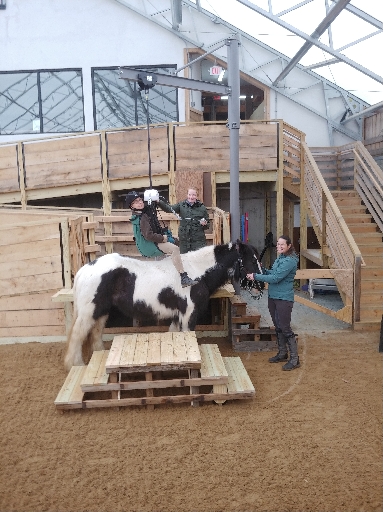
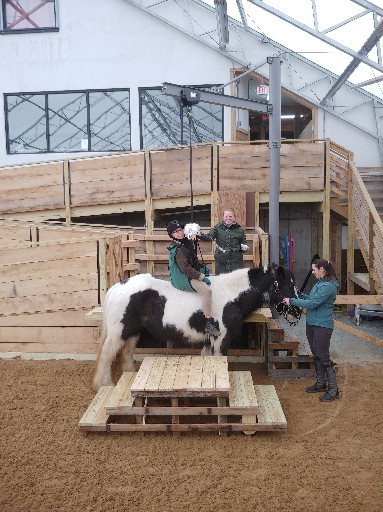
Completed Patient Lift
Polly gets a ride on the finished lift.
Polly gets a ride on the finished lift.
A view from the bedroom end.
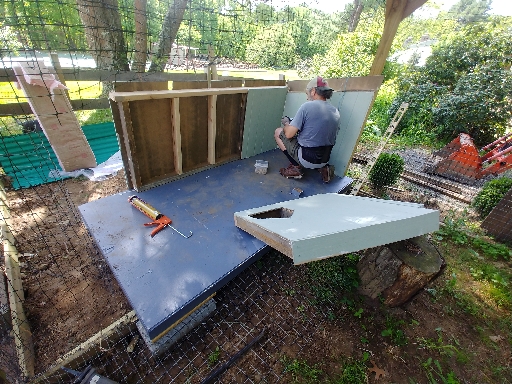
This is a view of the bedroom. Note section of tile floor visible at the rear.
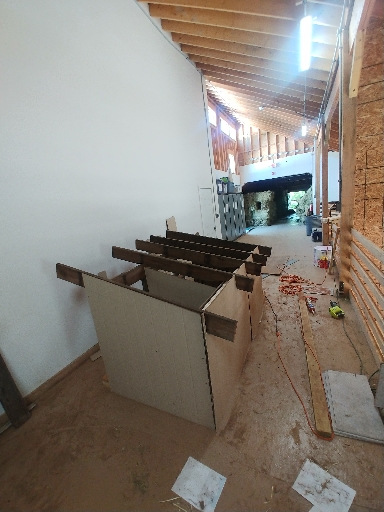
This shows the living room area. The archway at the back will become the entrance to the bedroom.
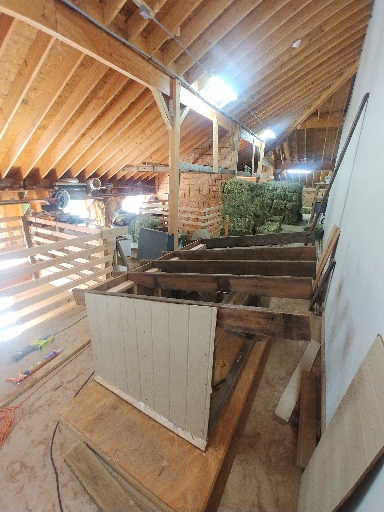
Overall picture from the living room end of the building under construction.
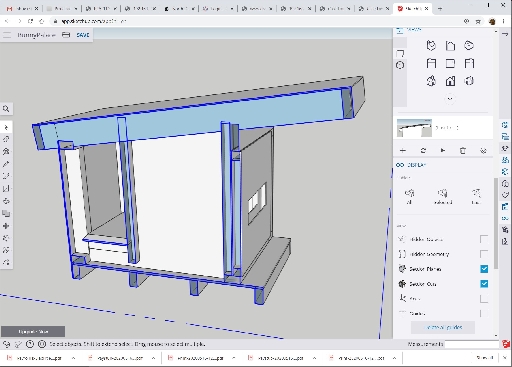
The building was designed in Sketchup a 3D CAD tool. This shows a cross section at the wall between the living room and the bedroom.
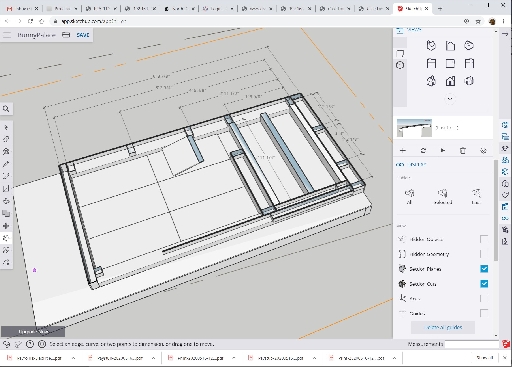
This shows the floor plan. The porch is on the left the living room in the middle and the bedroom on the right.
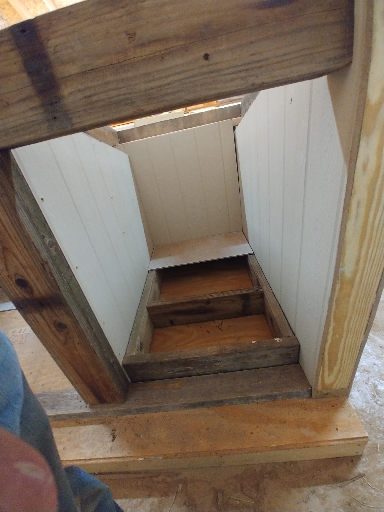
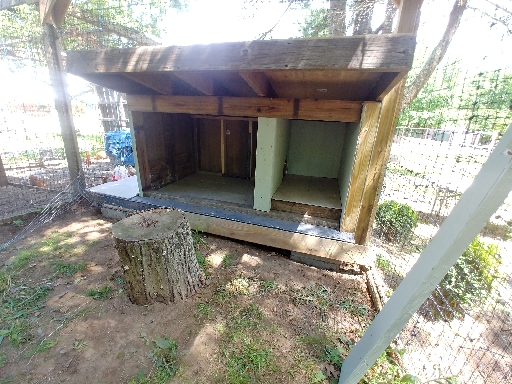
First walls erected in the actual palace location adjacent to the protective cage for the rabbit.
Interior walls and roof rafters added.
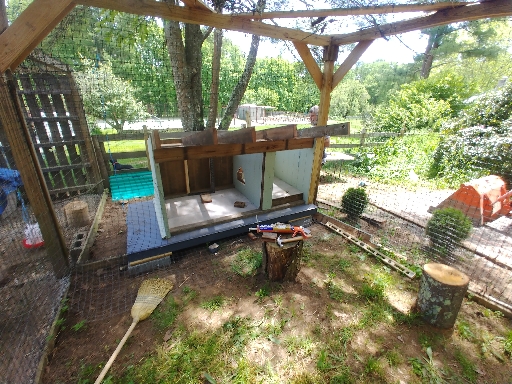
Roof deck added. Bedroom on the right and living room on the left.
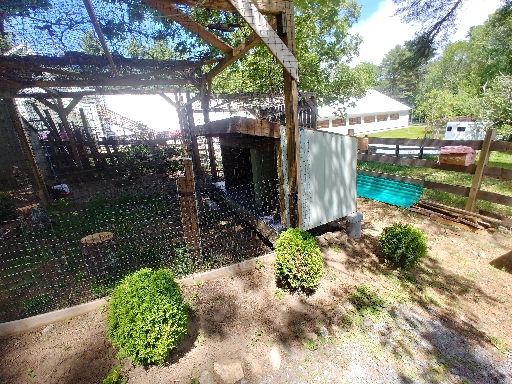
Showing how the new building adds to the protective cage for the Bunny.
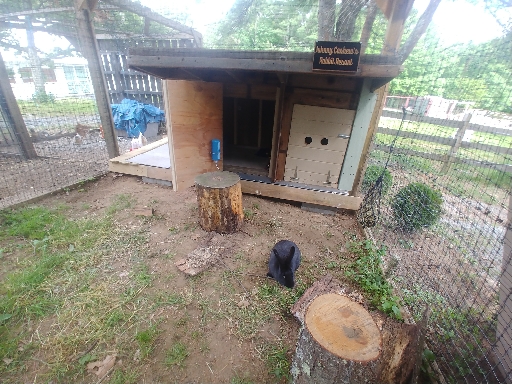
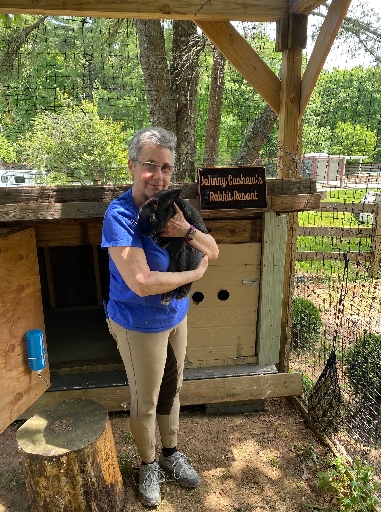
Completed Bunny Palace. Note the sign that says Johnny Cashew's Rabbit Resort.
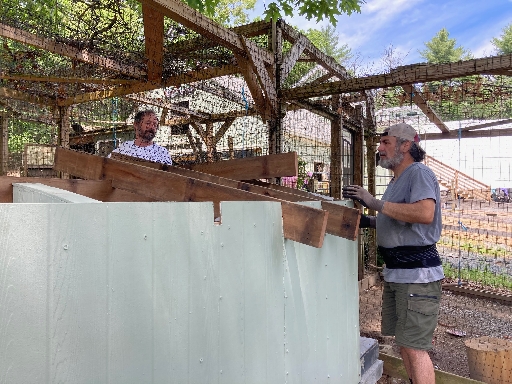
Monty and Mike erecting the roof.
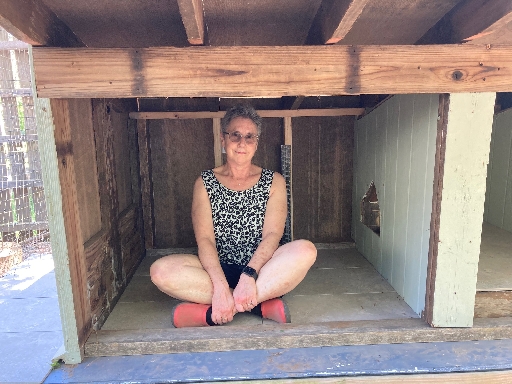
Polly wants to move in.
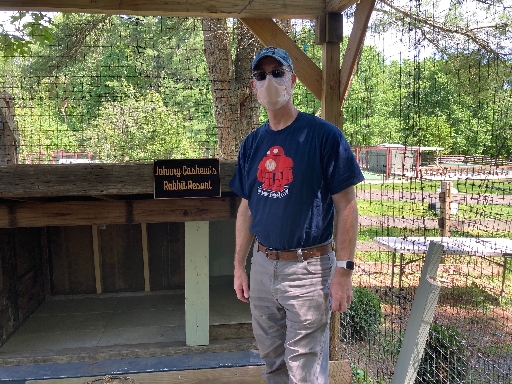
Signmaker Henry.
Johnny moves in.
More photos from
2020 Q1 and Q2. |