| Story MakeABowl created by wUmrLVWz 1 |
This shows the sequence of making a bowl.
|
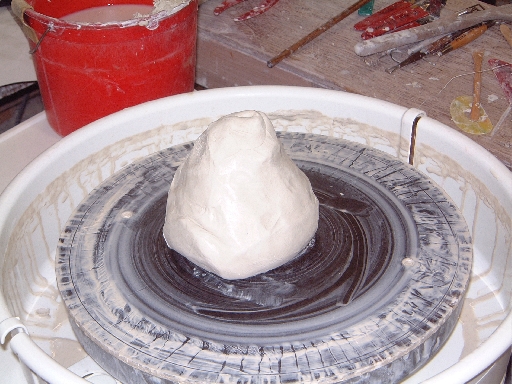
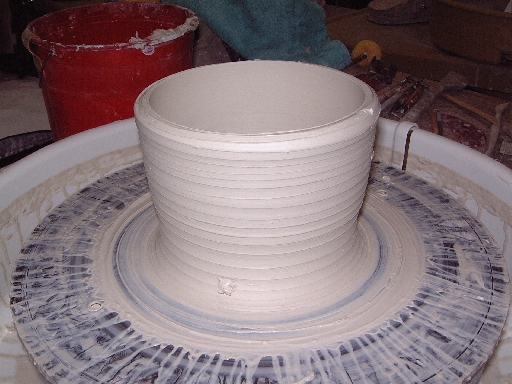
We start with a lump of clay on the wheel.
The Clay is centered by pushing in and making a solid cylinder. Then a hole is pressed into the center.
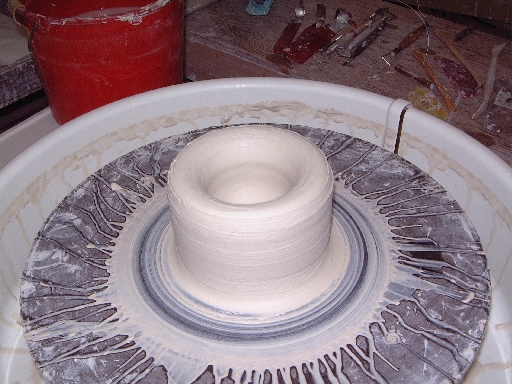
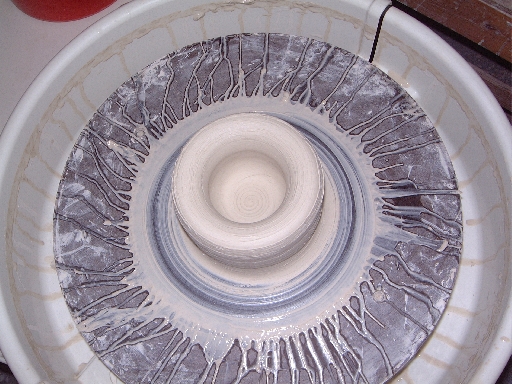
The center hole and sides are pressed into each other to make smooth straight sides.
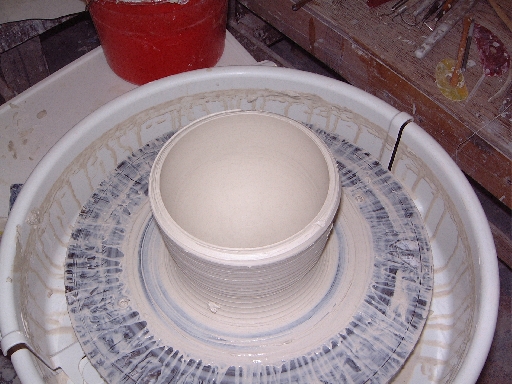
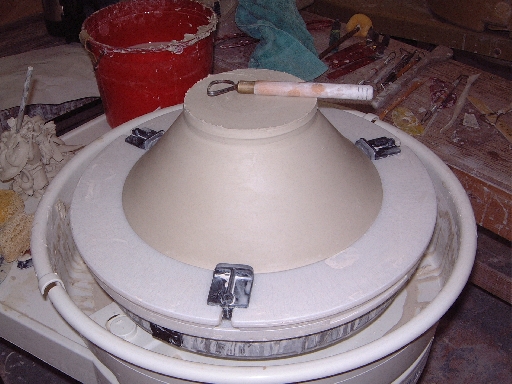
A curved surface is started at first by pressing out with fingers on the inside and outside of the bowl.
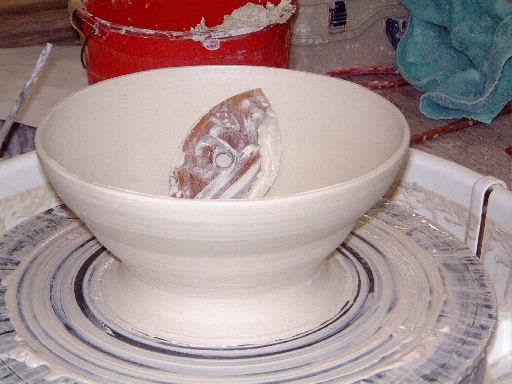
This is the side view of the pressing out step.
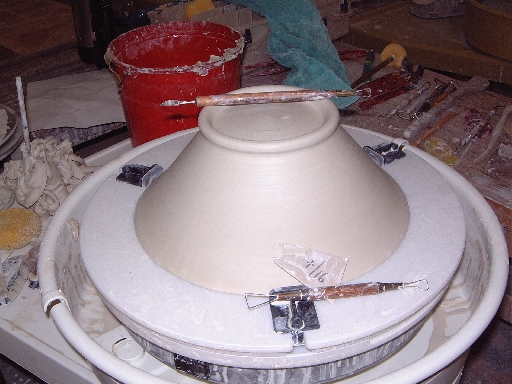
The interior shape of the bowl is formed with a rib pressing out against fingers on the outside.
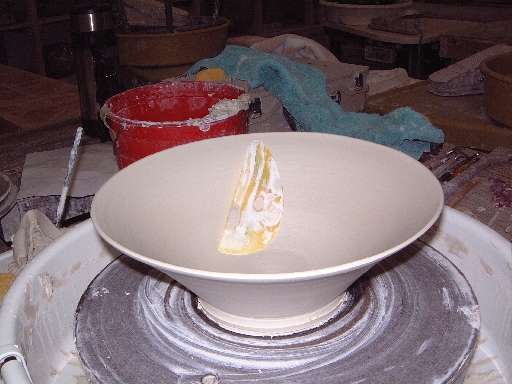
This rib is used to make a broader swooping shape. The straight side is also used on the outside to give the outside wall a controlled form.
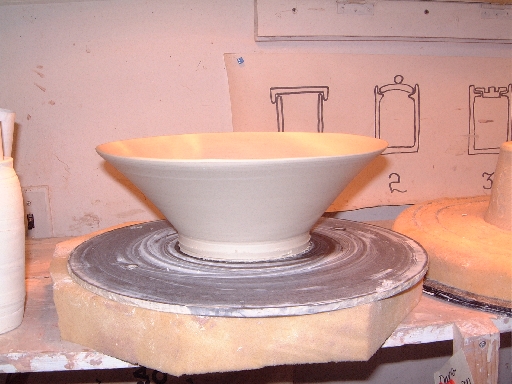
The bowl is cut free of the wheel and set aside to dry out and stiffen up.
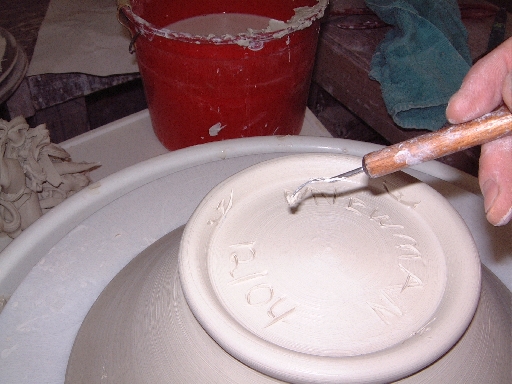
Returning to the wheel with the clay the consistancy of cheese the sides are trued up by trimming clay away, defining the exact shape of the outside and how it joins to the foot.
The tools at the bottom of the picture are used to trim the base and the foot. The grey plastic forms the rounded foot.
The bottom is trimmed out to give a space between the foot and the base of the bowl. The base is also signed.
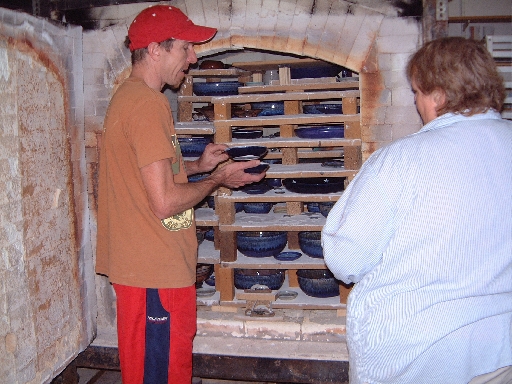
This kiln is one of three gas kilns at Mudflat studio. This is the middle sized '36' being unloaded.
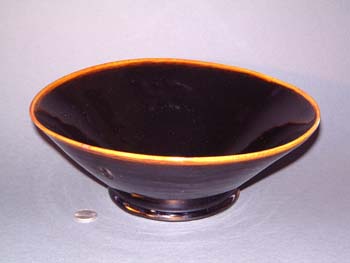
This is the finished bowl. The clay used was a cone 10 porcelain. The glaze is a heavy coat of Temokku.
Other photos taken at the same time that these photos were taken can be found in the directories that these photos came from. The photos in this story came from the following directories:
MikesPotsFall2004
MikesPots2005q1
|